The widgets used in most templates to create your email signature are your Business Widgets. These widgets automatically pull in your store information from your account settings like Business information, Store Hours, Logo, and Description.
To create a Custom Email Signature or signature options, you will use a feature called “My Widgets”. My widgets can be used to save a variety of widgets for a variety of reasons but are most commonly used for the email signature. In this example, we will show how to use My Widgets to include multiple store addresses in your email signature.
Original Email Signature Example:

- Delete any widgets you do not want to keep in your signature or widgets that need to be customized for additional information, color, or font.
- Drag in new widgets in a layout of your choosing. (Remember, each row can fit up to four (4) widgets maximum).
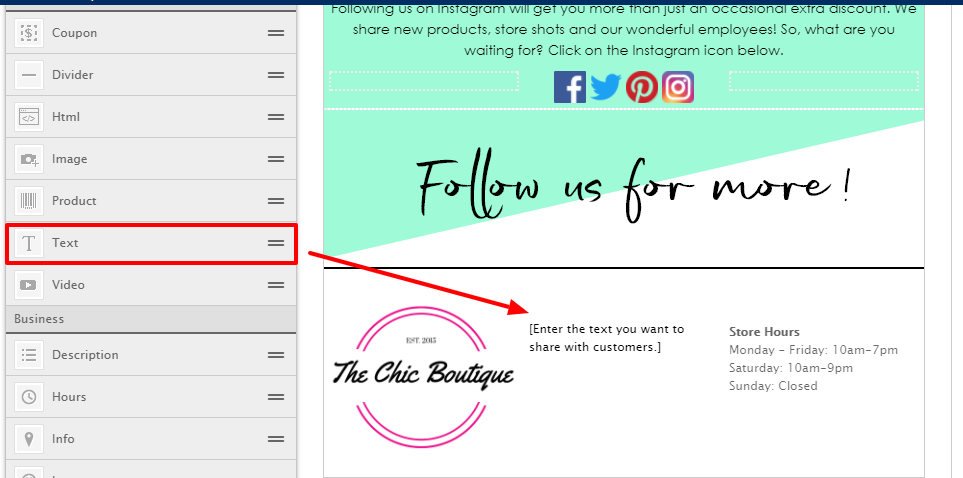
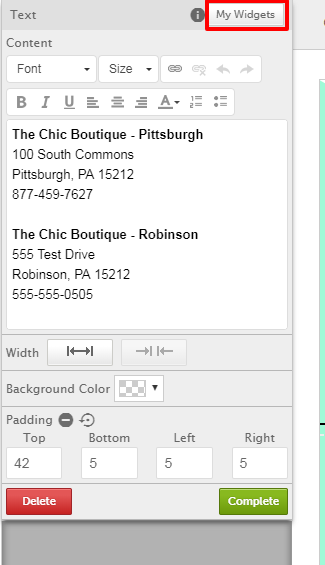
- Add your custom information and format to your liking.

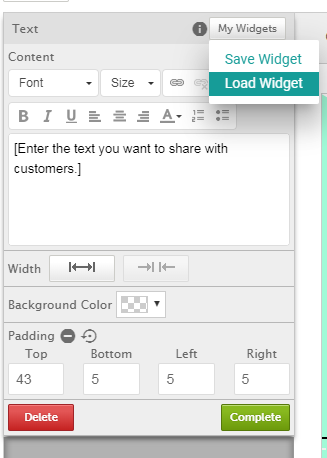
- Once your widget is formatted to your liking, click the “My Widgets” button, located at the top left of the sidebar editor for this widget. Select “Save Widget”.
- Widgets will save by category. In this example, all “Saved Widgets” for text will appear. Click close or “X” out of this window.
To use this customized widget in the signature of future emails:
- Drag in a Text Widget onto the email template.
- Click “My Widgets” and select “Load Widget”
- Choose the saved text you wish to upload in the widget.
- The text will automatically load onto the template.
Note: You can edit this text as needed. Edits will appear only in the template you are working on. To save edits to a customized widget, follow steps 1-6 again.
0 Comments