
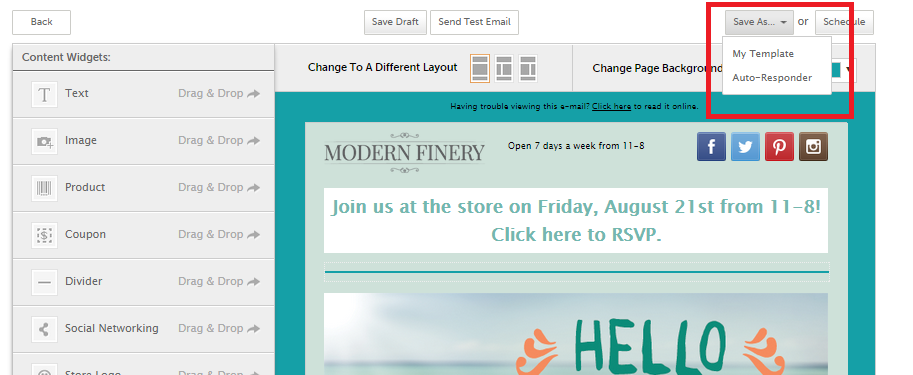
- On any template select Save As from the top right and choose Autoresponder.
- Select the Autoresponder Type from the drop-down menu:
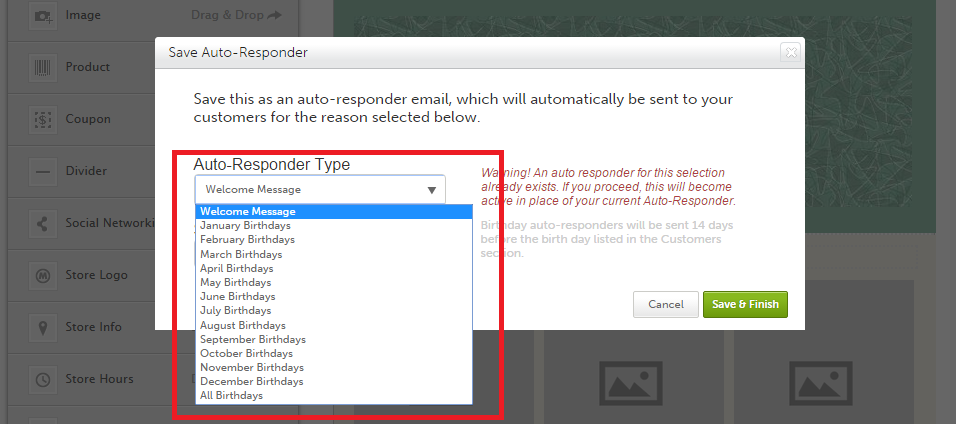
- Birthday by Month – Your customers will receive your birthday autoresponder if their birth date matches the month you’ve selected. Birthday autoresponders will be sent 14 days before the birth date listed in your Customers section. (if you choose this option you would need to setup an autoresponder for each month).
- All Birthdays – Your customers will receive your birthday autoresponder 14 days before the birth date listed in your Customers section.
- Type your Subject Line in the text box.
- Choose Save & Finish and you will be directed to the Autoresponder tab where you can view your saved autoresponders.
Important Note: Only one Welcome, one Birthday, and one Event autoresponder can be active at a time. If you already have an existing Welcome, Birthday, and Event autoresponder active and you attempt to create a new one, your existing autoresponder will be turned off and your newly created autoresponder will be activated in its place.
0 Comments