
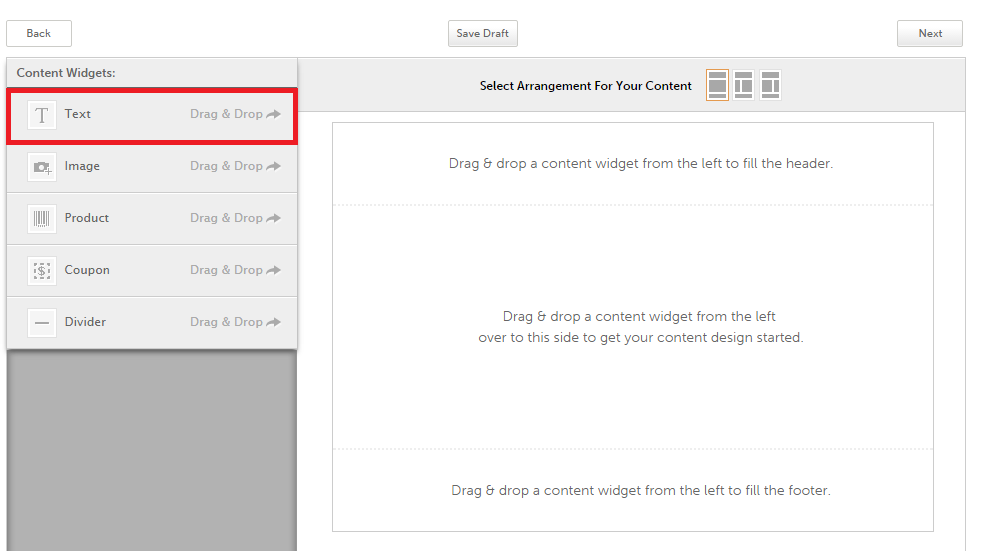
- Click the text or drag and drop the text widget into your page to begin editing. Any changes you make to your text will show in your homepage to the right.
- Navigate to Text Area. Remove the placeholder text and type the text you wish to add to this section of your page. From here you can edit your text with the WYSIWYG editor (what you see is what you get).

- Highlight your text and choose a Font Size from the dropdown boxes.
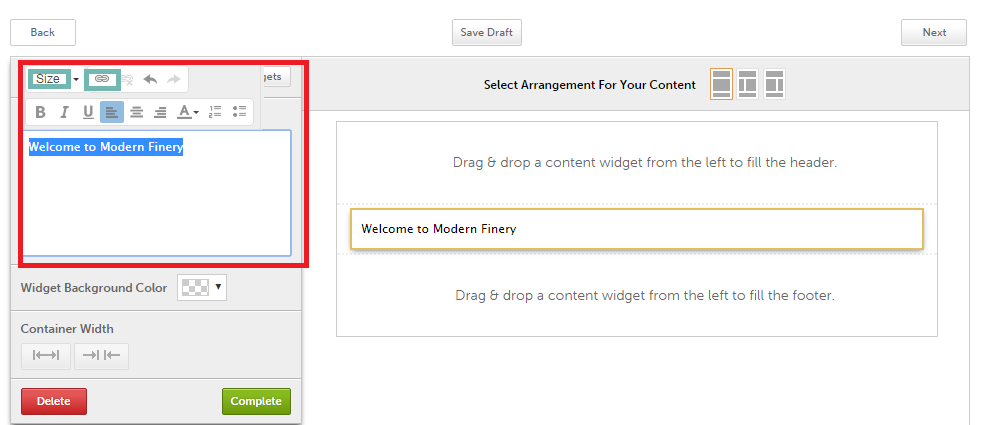
- Link your text by clicking the chain icon and selecting the type of link you wish to use.
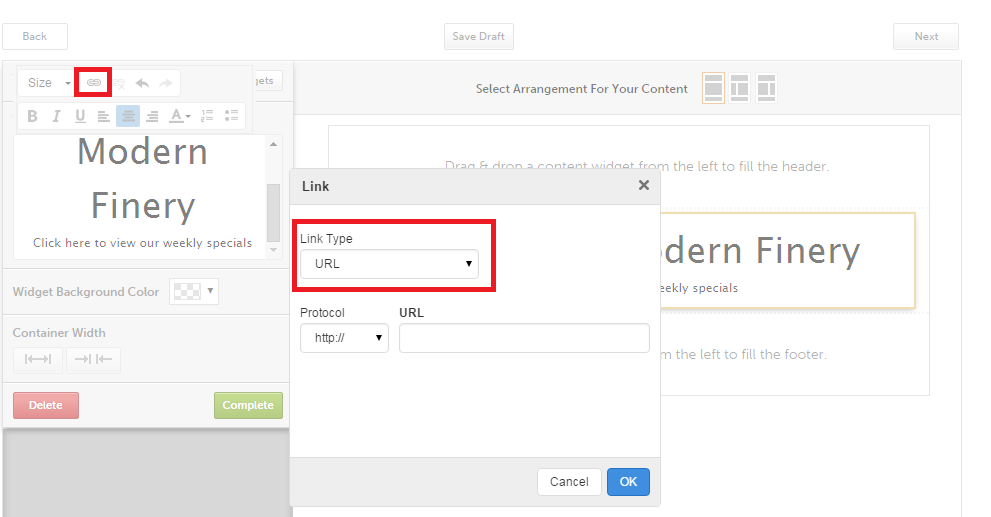
- URL – link to any external web address.
- Email – link for your customers to open an email draft to reply to your store including a subject of choice.
- Bold, Italicize, Underline or Justify your font from the second line of options.
- Change the Font Color by highlighting the text and selecting the font color icon or choosing More to view additional font colors. Add your own custom font color by entering the hex # in the text box underSelected Color. Click OK when you are finished.
- Add Numbered and Bulleted Lists from the last two options in the WYSIWYG.
Navigate to Widget Background Color to change the background color of your text.
- Add your own custom color by entering the hex # in the text box.
- To remove the color select No Color.
- Select Done to save.
- You can view any changes in your template to the right.
If your text widget is next to another widget, then you will have the option to change its width.
- Navigate to Container Width.
- Select the arrows pointing out to expand the widget.
- Select the arrows pointing in to decrease the size of the widget.

When you are finished editing your text, click Complete to save your changes.
Important Note: The font is chosen by the website theme and therefore cannot be changed.
0 Comments