You can create and schedule your own store event from the Calendar. A store event can be private and only show on your Calendar or it can be published to your SnapRetail website. A store event will show on your Calendar as yellow once it is complete.
- Navigate to Calendar in your SnapRetail account.
- Click on the any given day you wish to schedule your event or click the Create button and choose Store Event.

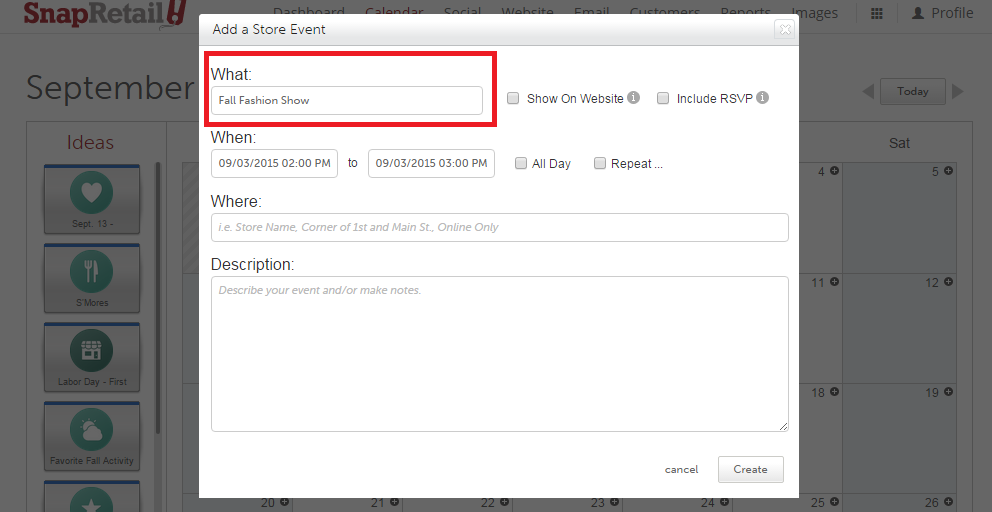
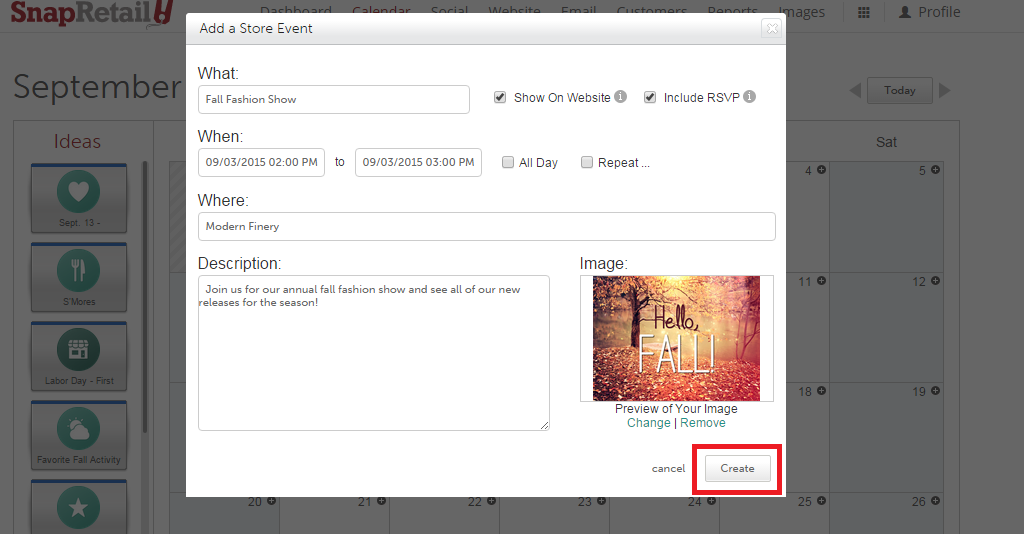
Name your event under What. The name of your event will show on the Calendar.
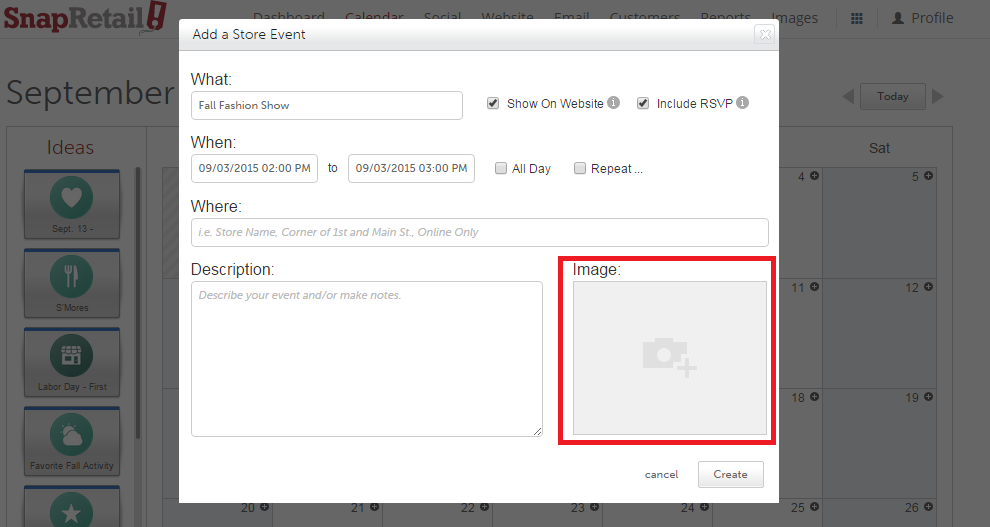
Choose to Display On Website and your store event will automatically publish to your SnapRetail website’s events page.

If you display your event on your website, you can choose to Include RSVP, which will add an RSVP button and form on your event landing page. RSVPs will be sent to your reply-to email address.

You are able to add an image to your event. Click Select under Image and you can choose from Stock Images, My Images, Upload Your Own or Instagram.
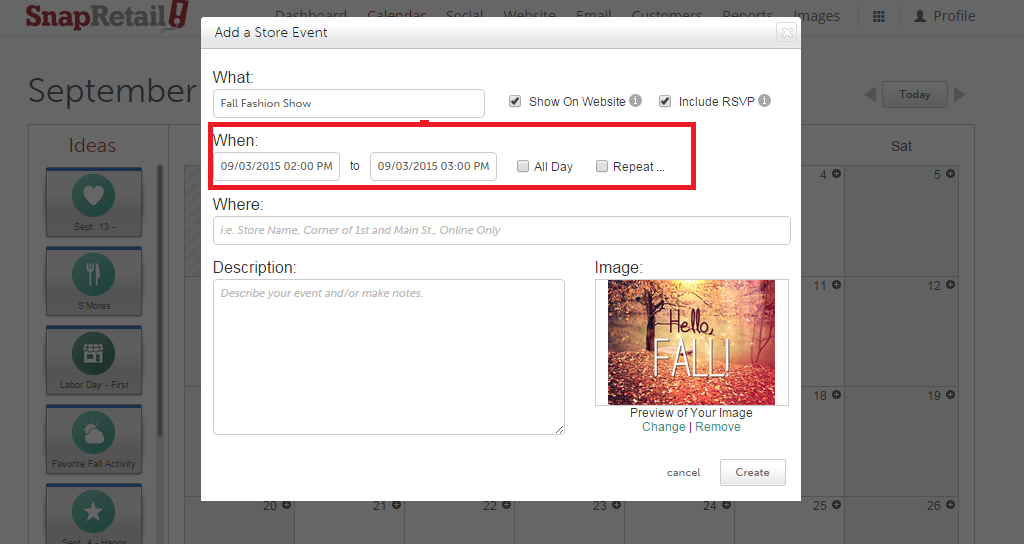
Set the date, time, duration and choose whether it’s a recurring event by checking Repeat.
- If you select Repeat, a drop-down will appear where you can choose the day your event repeats, how often and the number of occurrences or the date it ends.
Provide information on where the event will take place and add a short description.
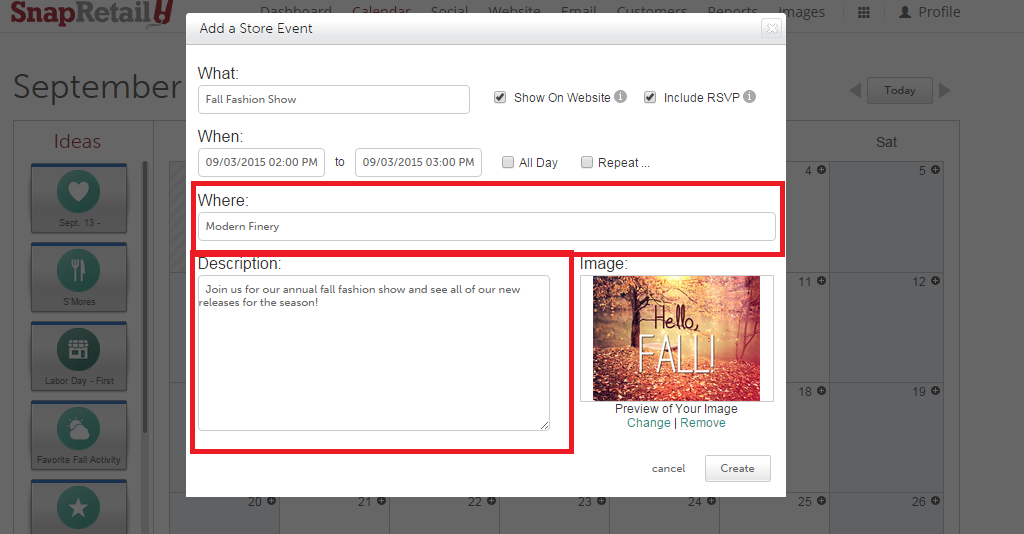
Select Create and you will be directed back to your Calendar where you can view your store event in yellow.
There are two ways to edit your store event.
- 1) Click on the store event from the Calendar to edit everything.
- 2) Drag the store event to a new day to reschedule, or drag it off the Calendar to delete.
0 Comments