A background image can be added to any individual row, behind any type of widget, on any custom page or homepage of your website.
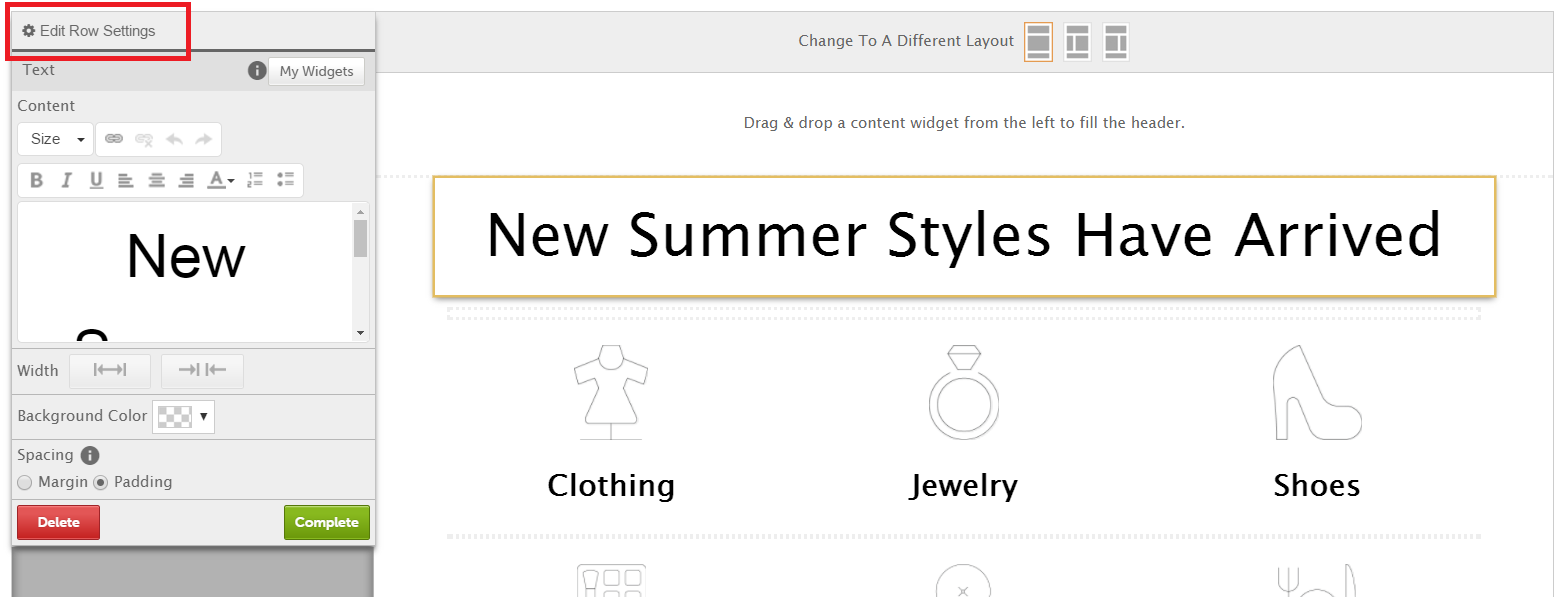
1. Click on any widget on the row you would like to work with. Then click Edit Row Settings.
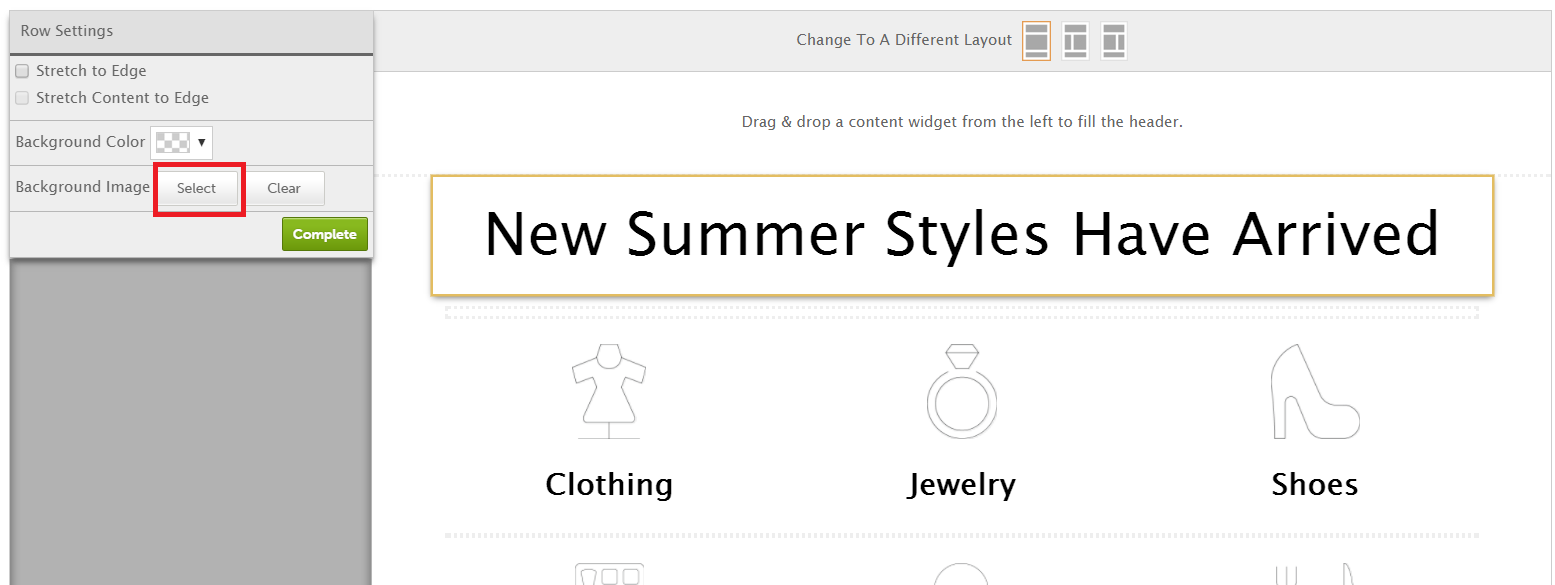
2. Then, click Select by Background Image
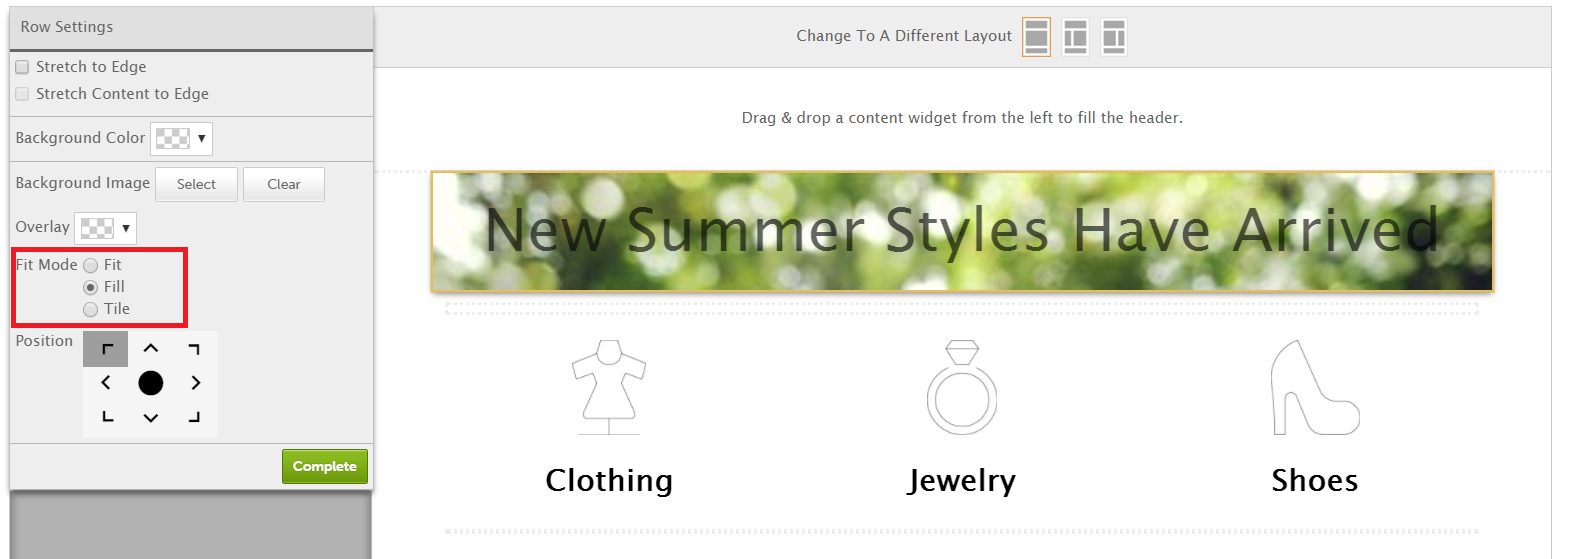
3. Click on an image. The image selected should be at least 1200 pixels wide. (if the image looks fuzzy or distorted when you select it then it is too small of an image to use for this purpose.


4. To fit the image, use the Fit Mode options (Fill typically works best)
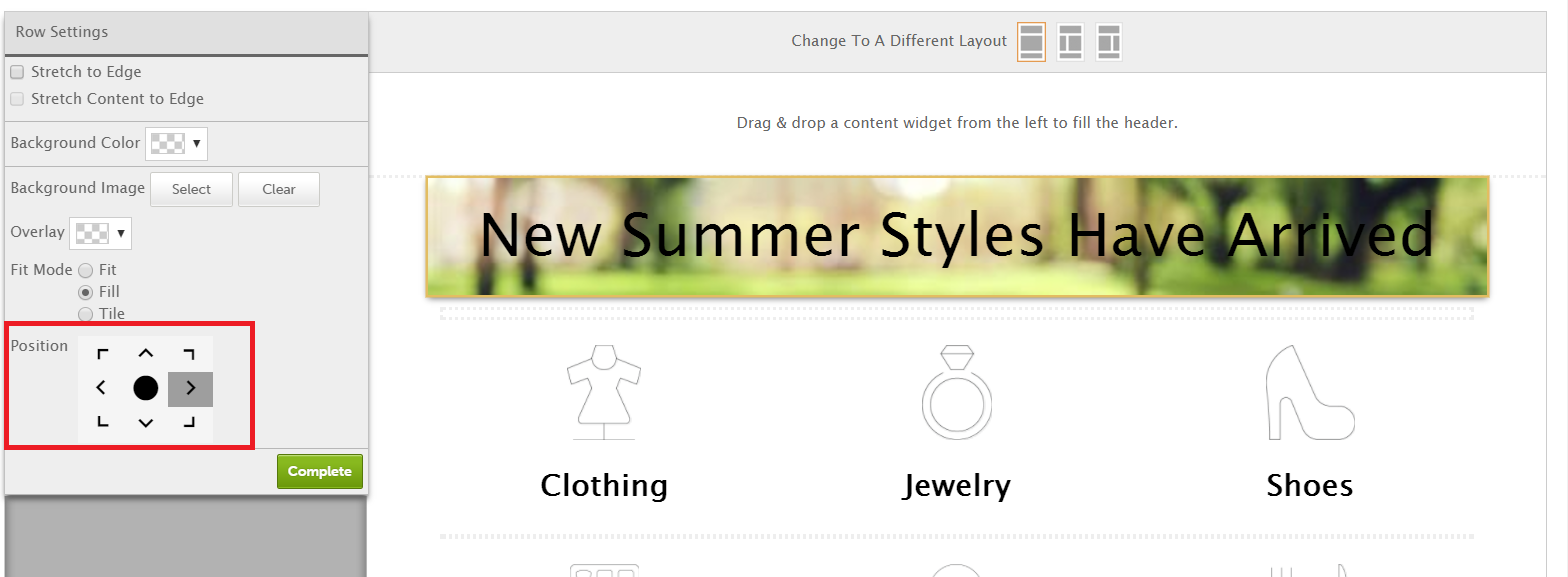
5. Position the image using any of the arrows or click the black dot to center the image.
6. To set the opacity of the image click Overlay.

- Use the slider bar or opacity options below the color palette and spectrum.
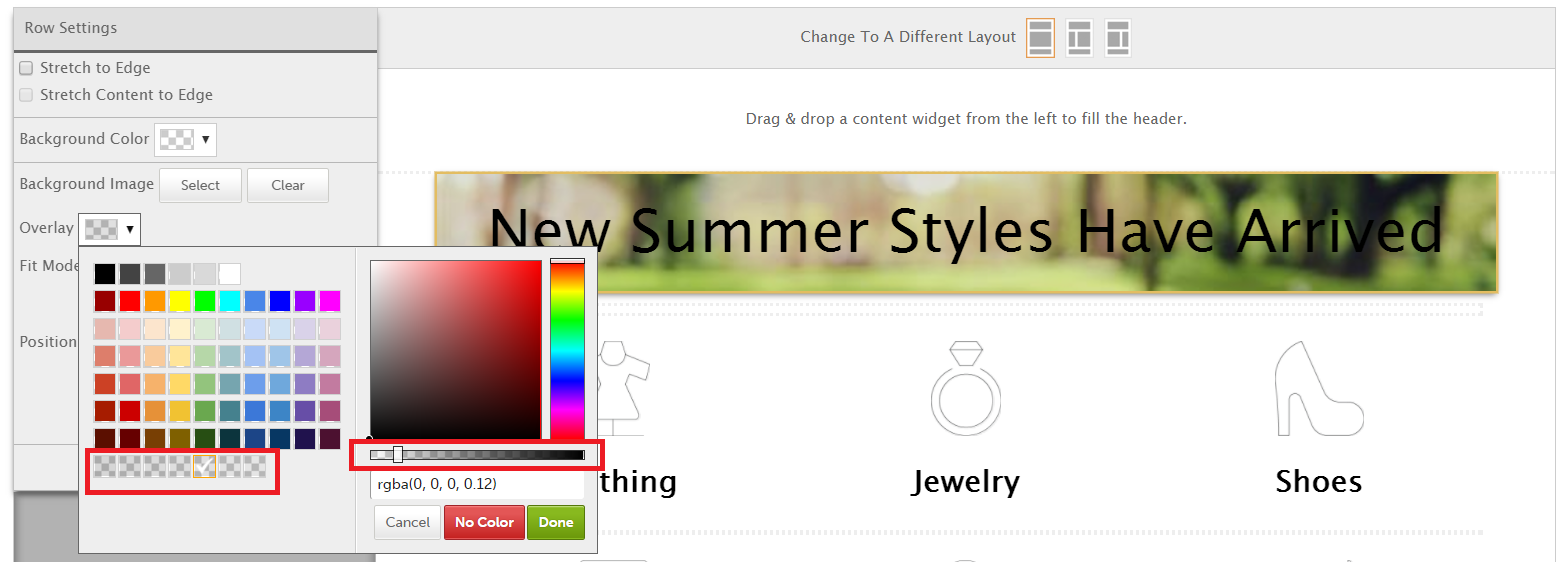
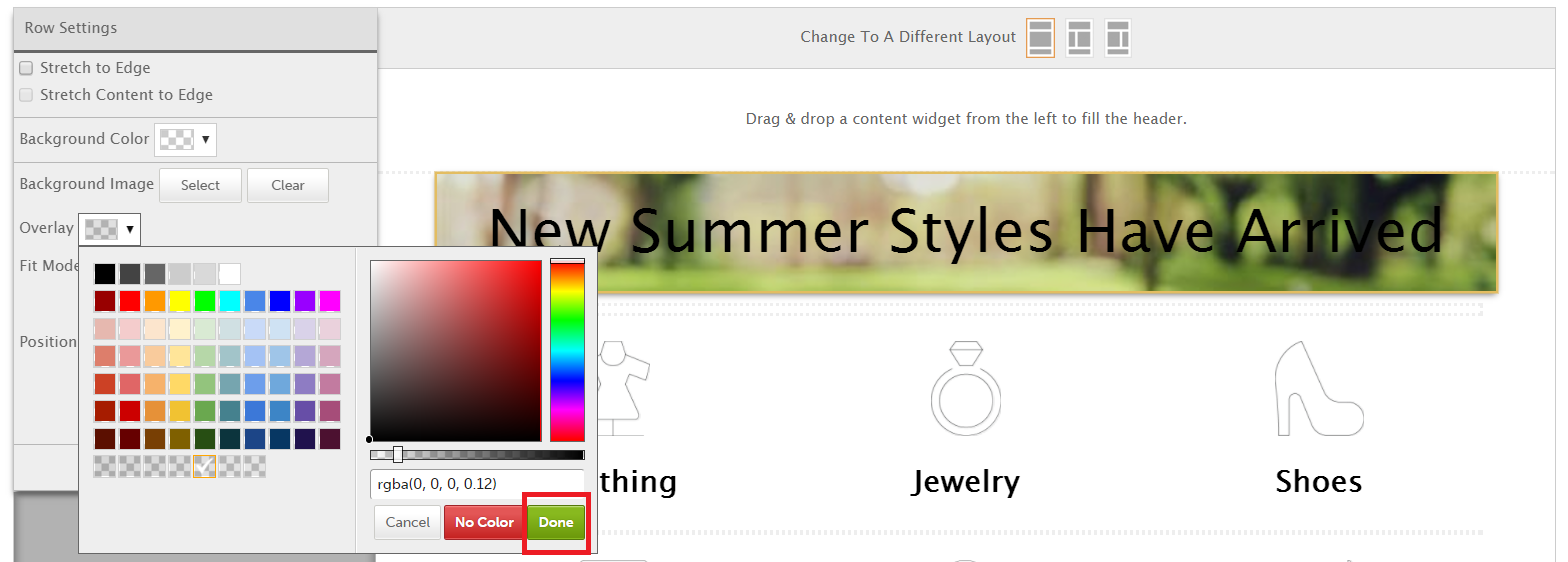
- When you are satisfied click Done.
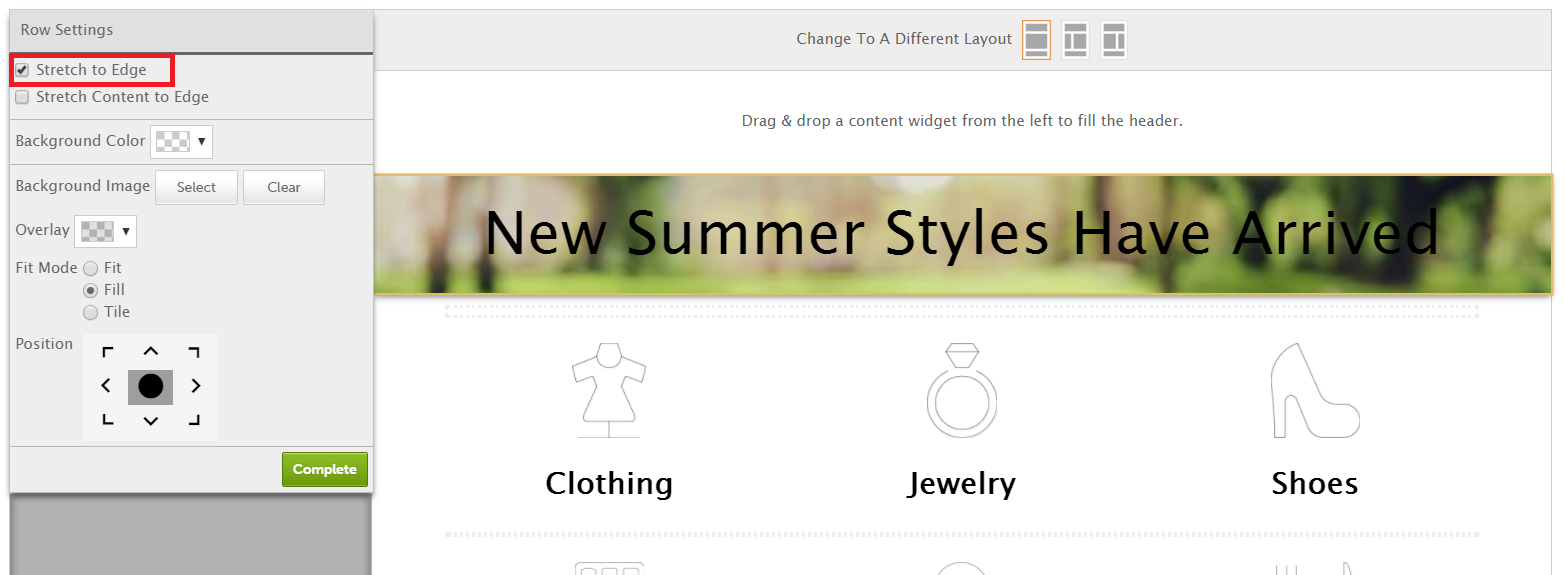
7. If you would like the background image to stretch to the edge of the screen, first make sure your layout/theme supports this, then click Stretch to Edge.
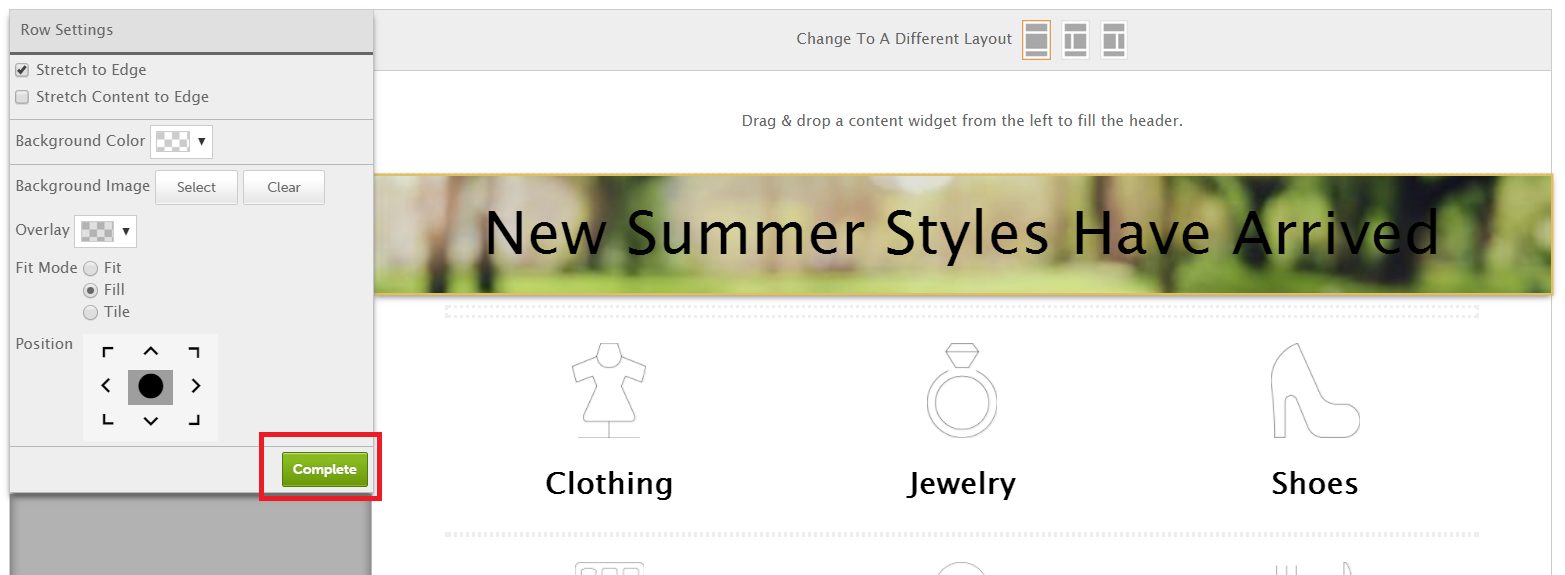
8. Finally, click Complete
0 Comments