You are able to create and schedule a Facebook photo album from the Calendar. To create a photo album, you must have at least three photos to post. A Facebook album will show on your Calendar as dark blue once it is complete. You can also add a title to a photo album to distinguish its content.
- Navigate to Calendar in your SnapRetail account.
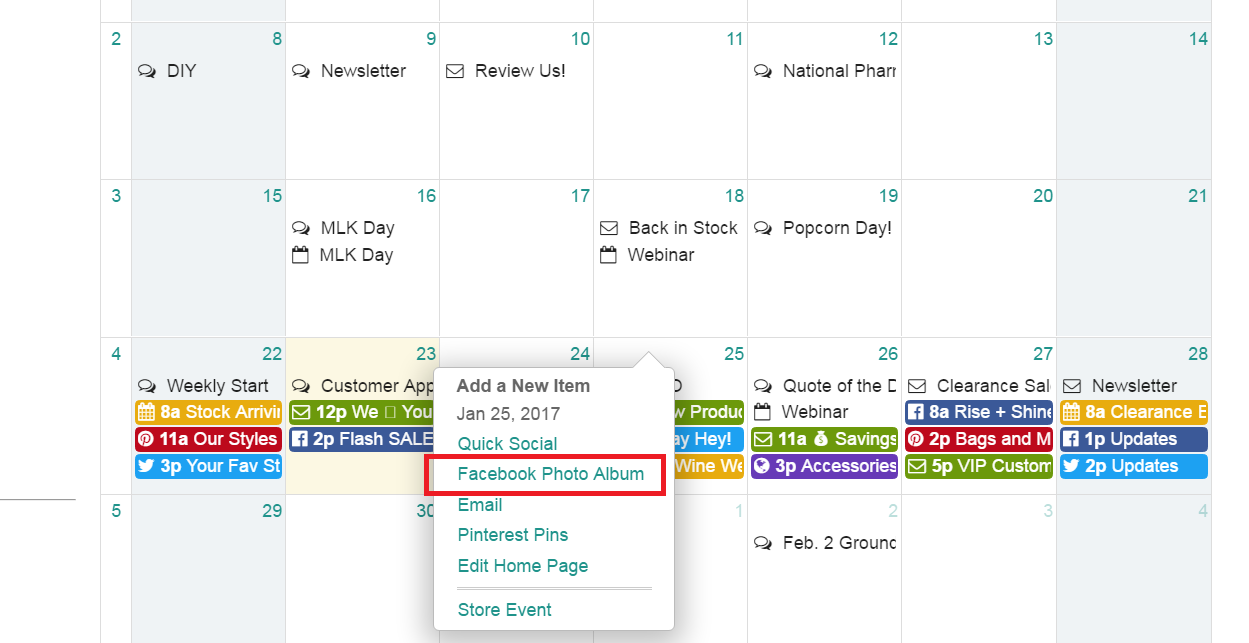
- Click on any day on the Calendar that you wish to post and choose Facebook Photo Album.
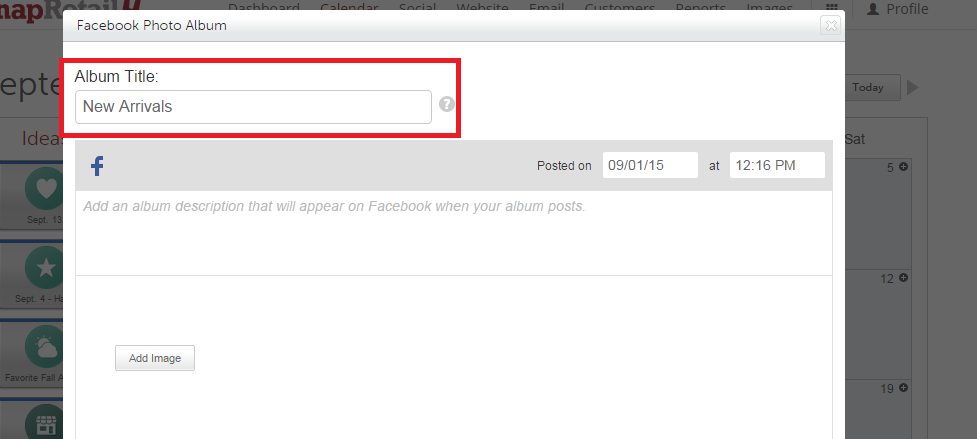
Give your album a short title under Album Title so you can easily find it on your Calendar and Reports.
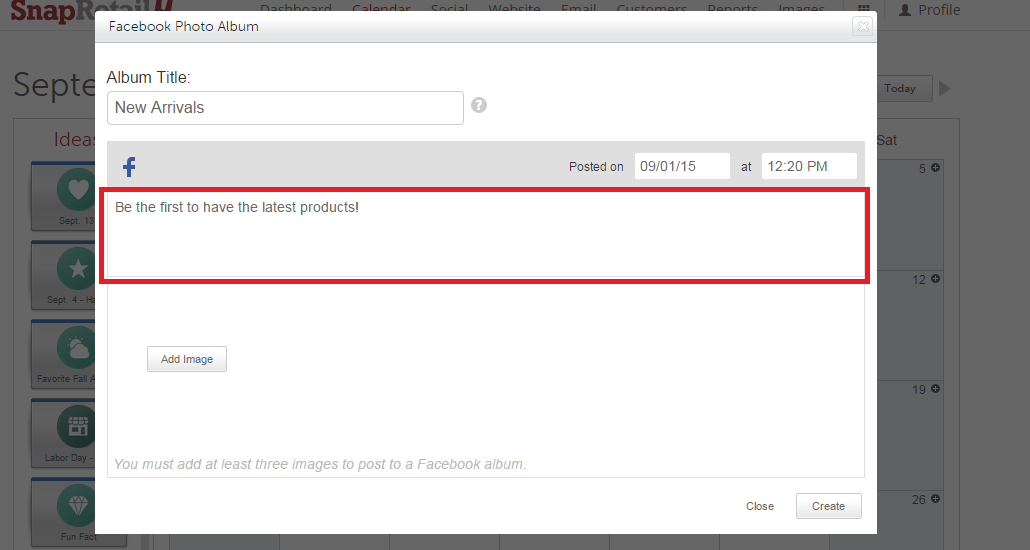
Add a description to your photo album. The description will appear above your album on Facebook.
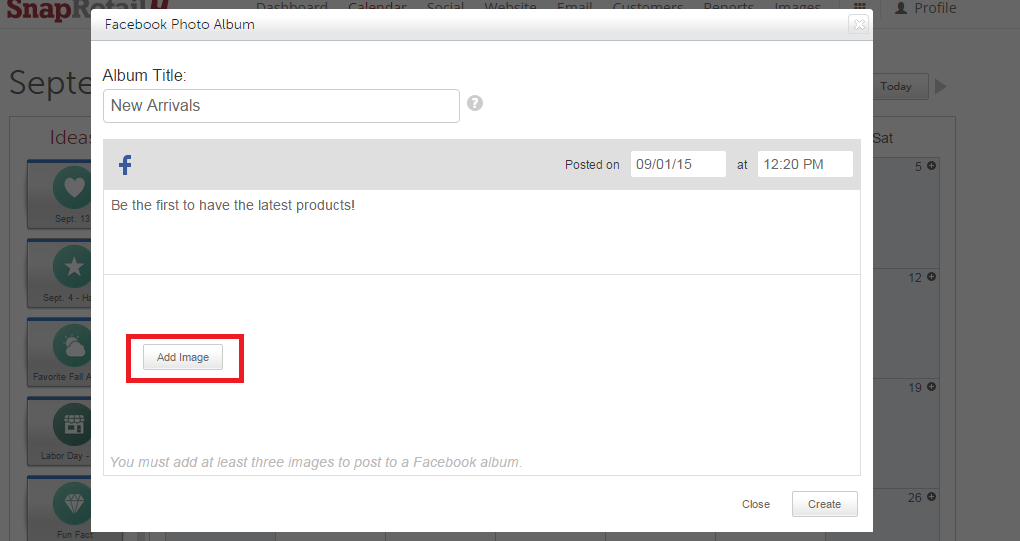
Click Add Image to select at least three photos to get started. You are able to choose from Stock Images, My Images, Upload Your Own, Instagram or any combination.
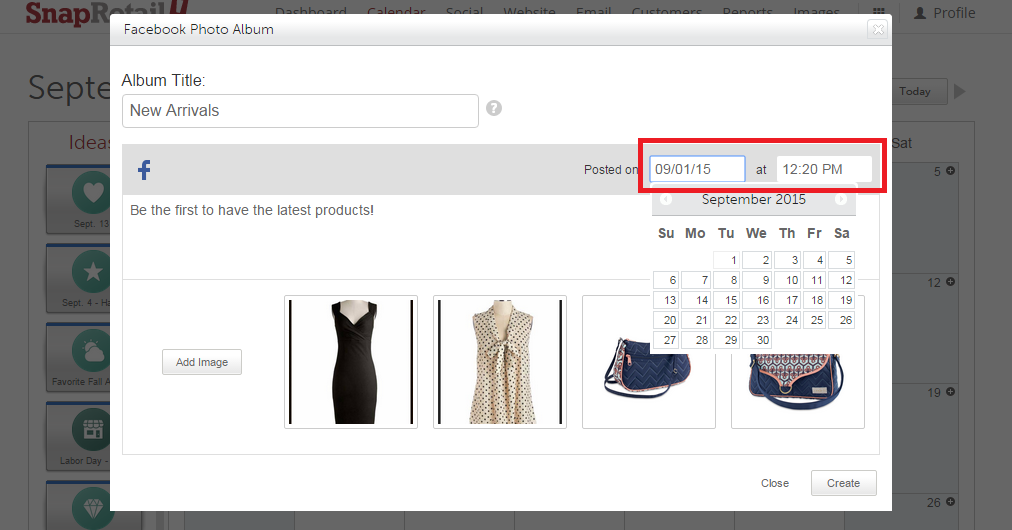
- Choose the time you want your album to post to your Facebook page.
- If you’d like to change the date that you wish to post, click on the date and select a day from the drop-down calendar.
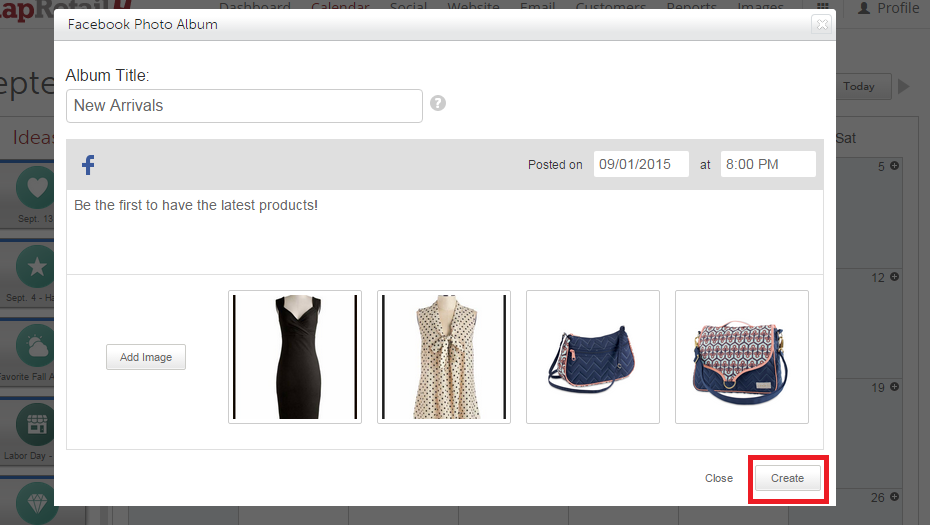
Click Create to schedule your post and you will be directed back to your Calendar where you can view your Facebook photo album in dark blue.
- There are two ways to edit your scheduled Facebook photo album.
- 1) Click on the album from the Calendar to edit everything.
- 2) Drag the album to a new day to reschedule, or drag it off the Calendar to delete.
0 Comments